
Getting Started
Kairox is a local-first AI agent workbench. The repository ships a Rust workspace (runtime, memory, models, tools, MCP, skills, plugins), a terminal UI built on ratatui, and a Tauri 2 + Vue 3 desktop GUI. This page is the five-minute path from a fresh clone to a working agent session.
If you want a deeper install walkthrough that covers per-OS prerequisites and the Tauri toolchain, jump to Installation. If you want to understand what the runtime is doing under the hood, read Architecture.
Prerequisites
You need three toolchains on your machine. Versions below are the floors we test against — newer is fine.
| Toolchain | Minimum | Used for |
|---|---|---|
| Rust | stable | All crates. Pinned by rust-toolchain.toml. |
| Node.js | 22+ | Frontend tooling, the documentation site, generated TypeScript types. |
| Bun | 1.3+ | Workspace package manager. Replaces npm/pnpm/yarn. |
just | latest | Task runner. cargo install just or brew install just. |
For desktop GUI work you also need the Tauri 2 platform prerequisites; see Installation for the per-OS details.
Bun is required
Kairox uses Bun as the workspace package manager. The repository's packageManager field will refuse npm, pnpm, and yarn. Install Bun first: curl -fsSL https://bun.sh/install | bash.
Clone and install
git clone https://github.com/Z-Only/kairox.git
cd kairox
bun install
bun install does two things you should know about:
- Installs frontend dependencies for the GUI workspace under
apps/agent-gui. - Installs Husky pre-commit hooks via
prepare. Without this step, commits will not run format/lint gates.
A worktree created via just worktree <branch> runs bun install automatically; a manually-created worktree does not, so always run it once after git worktree add.
Run quality gates
Confirm the workspace compiles and is clean before touching anything:
just checkjust check is the union of three gates:
| Gate | Underlying command | What it covers |
|---|---|---|
| Format check | bun run format:check | oxfmt + cargo fmt --check |
| Lint | bun run lint | oxlint, clippy, Stylelint, parity matrix |
| Rust test suite | just test | cargo test --workspace --all-targets |
If just check fails on a fresh clone, stop and read the error — something in your environment is wrong. Common causes: missing platform deps for agent-gui-tauri, an outdated Rust toolchain, an older Bun.
Try the TUI
The TUI is the fastest path to a working session. It uses an in-memory fake model client by default, so you do not need any API keys.
just tuiThe TUI opens in your terminal with three panels: sessions on the left, chat in the middle, trace on the right. Type a message and press Ctrl+Enter to send. Press F1 for the full keymap, or jump to CLI & Keyboard for the reference.
By default the TUI runs against the fake provider, which echoes a configured response. That is useful for smoke testing without hitting a real API. To use a real provider, configure a profile (see below).
Try the GUI
The desktop GUI gives you persistent sessions, a trace timeline, trajectory inspection, a memory browser, MCP marketplace, autonomous task controls, and a settings surface that exposes everything the TUI shows in a keyboard-driven menu.
just tauri-devThis starts the Vite dev server and the native Tauri window together with hot reload for both the Vue frontend and the Rust backend.
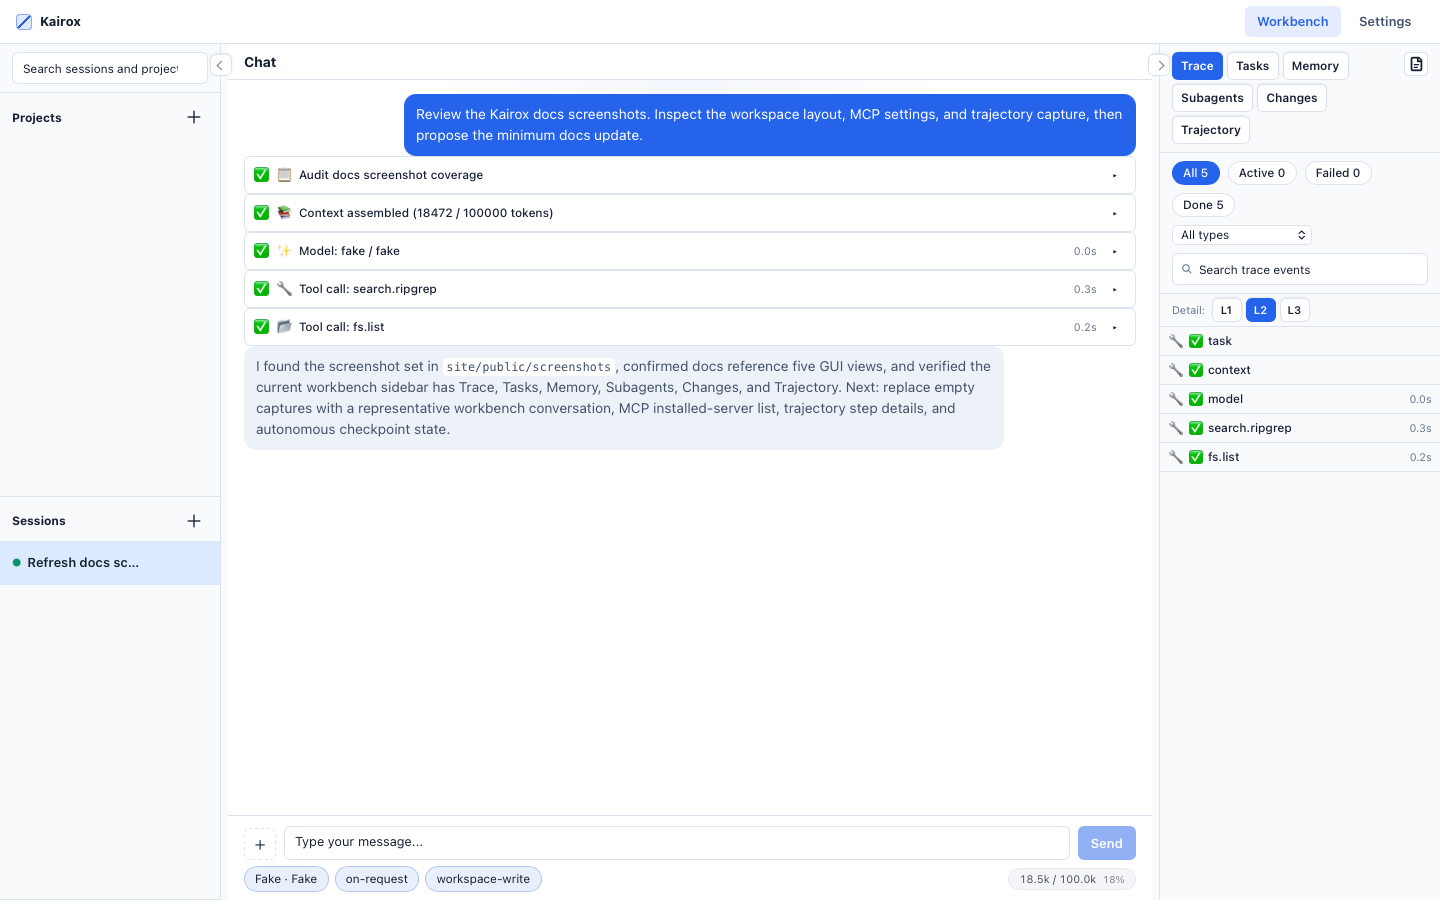
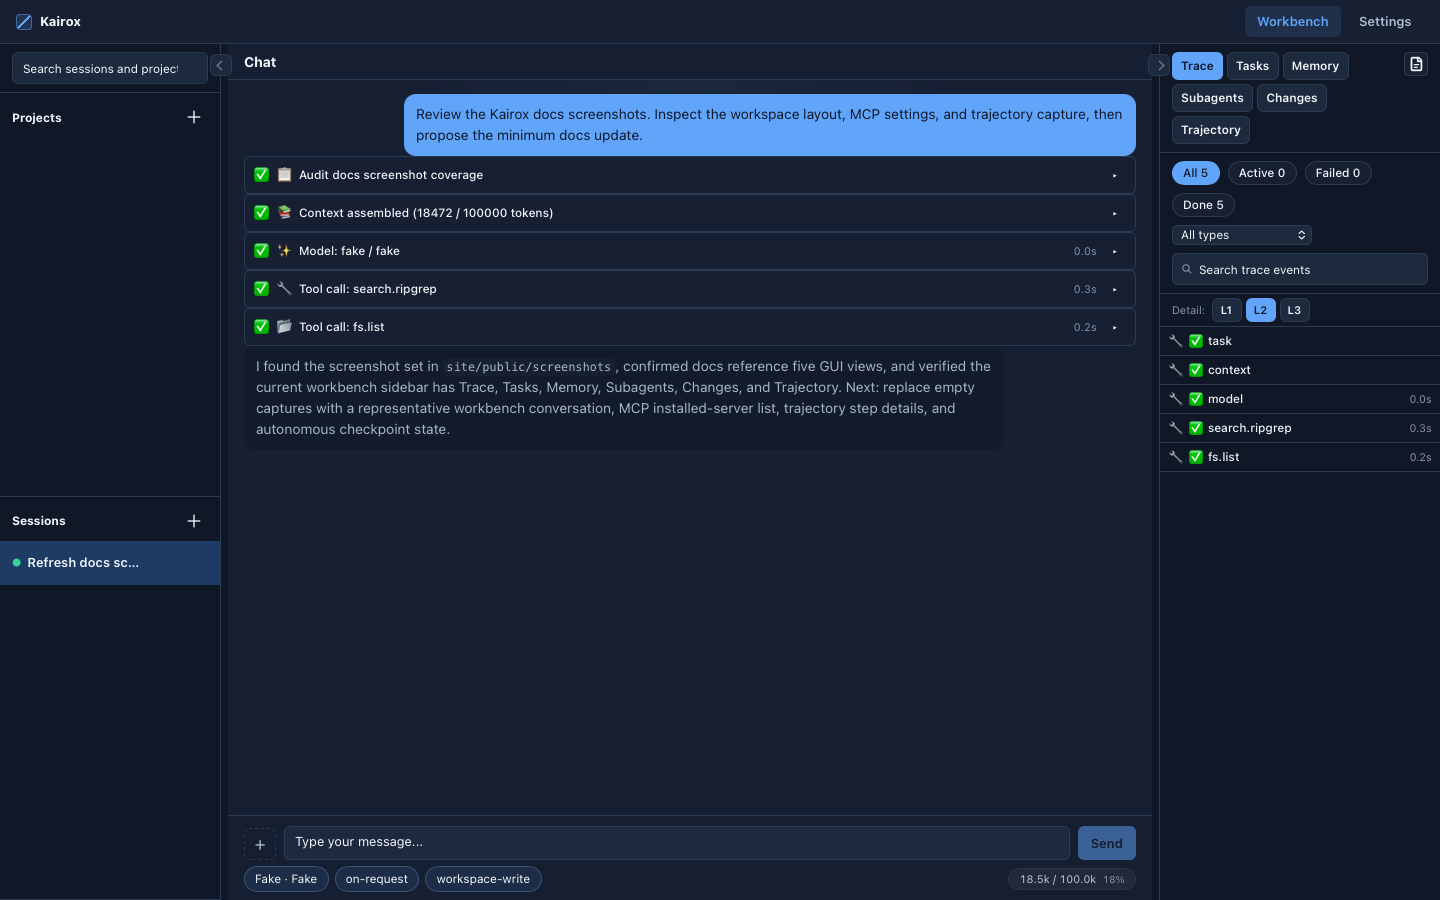
If Tauri fails to compile on the first run, you are almost certainly missing a platform prerequisite (WebKitGTK on Linux, WebView2 on Windows, Xcode CLT on macOS). The Installation page lists everything.
For frontend-only work where you do not need the native window, use:
just gui-devConfigure a model profile
To talk to a real model, copy the example config and point it at your provider:
mkdir -p .kairox
cp kairox.toml.example .kairox/config.toml
cp .env.example .env
Then edit .kairox/config.toml. The shortest possible OpenAI profile:
[profiles.fast]
provider = "openai_compatible"
model_id = "gpt-4.1-mini"
base_url = "https://api.openai.com/v1"
api_key_env = "OPENAI_API_KEY"
And add the key to .env:
OPENAI_API_KEY=sk-...Restart the TUI or GUI. The profile selector (Alt+P in the TUI, the profile dropdown in the GUI) now lists fast. Pick it for your next session.
The full configuration schema — every provider, every field, every supported MCP transport, the [context] budgeting section, and the optional [advisor] self-reflection policy — lives in Configuration.
What to read next
Pick the doc that matches what you want to do:
| Goal | Read |
|---|---|
| Set up a clean dev environment on your OS. | Installation |
| Walk through your first real session step by step. | First Session |
| Understand the runtime, the event stream, and the agent loop. | Runtime & Sessions |
| Understand how memory is stored, retrieved, and compacted. | Memory & Context |
| Understand the Approval × Sandbox policy engine and the built-in tools. | Permissions & Tools |
| Extend Kairox with MCP, skills, or plugins. | Extensibility: MCP / Skills / Plugins |
Look up a just recipe, a TUI key, or a GUI shortcut. | CLI & Keyboard |
| Find a crate, see its public API, and link out to source. | Crate Index |
| Hit an error you do not understand. | Troubleshooting & FAQ |
What this page does not cover
This page is the fastest path to "it works." It does not cover per-OS install troubleshooting (Installation), end-to-end first-session walkthroughs with screenshots (First Session), or the conceptual model behind the runtime (Architecture).