
First Session
This page walks you through one complete Kairox session end to end — in the TUI and in the GUI, with a real model, real tool calls, and a real permission prompt. By the end you will have seen the agent loop, the trace timeline, a model switch mid-session, and an automatic context compaction.
Before you start, you should have followed Getting Started (or the full Installation walkthrough) and you should have a working profile in .kairox/config.toml. If you do not, copy kairox.toml.example to .kairox/config.toml, fill in an API key, and come back.
What you will see
The high-level shape of every Kairox turn:
Every arrow in that diagram becomes a row in the trace timeline. Nothing happens that is not an event; nothing in the UI is rendered from anywhere but events. That is the model.
Part 1 — A first turn in the TUI
Open the TUI:
just tuiYou will see a three-pane layout: sessions on the left, chat in the middle, trace on the right. The status bar at the bottom shows the active profile, the current ApprovalPolicy and SandboxPolicy, and the context usage meter.
Pick a profile
Press Alt+P to open the profile selector. Use arrow keys to pick a profile (anything other than fake if you have a real API key configured). Press Enter.
The status bar updates to show the new profile. The model switch is non-destructive — the existing session is reused with the new model; nothing in the chat scrolls or resets.
Send a message
Type a short message — try What files are in this directory? — and press Ctrl+Enter to send.
You will see, in order:
- Your message appear in the chat pane.
UserMessageAddedandContextAssembledrows in the trace pane.ModelTokenDeltarows as the model starts streaming. Text accumulates in the chat pane character by character.- If the model decides to call a tool (likely
shell.execfor that prompt), a permission prompt overlay appears.
Handle the permission prompt
The overlay shows the tool name (shell.exec), the exact arguments (ls .), and the risk classification (High, because shell can execute anything). Three options:
- Y — allow this one call.
- N — deny this one call. The model sees the denial and can re-plan.
- D — deny all future calls of this kind for the session.
For this walkthrough, press Y.
A PermissionGranted event lands in the trace; the tool runs; ToolInvocationStarted and ToolInvocationCompleted events land with the result; the model resumes streaming a final answer; the turn ends with AssistantMessageCompleted.
You have just seen the entire flow that Permissions & Tools describes.
Switch model mid-session
Press Alt+P and switch to a different profile (e.g., from a fast model to a heavier one). Send another message. The new request goes to the new model, but the chat history is preserved. The runtime serializes the switch through the session actor so it cannot race the active turn — see Runtime & Sessions.
Watch context fill
Each turn appends to the context. The status-bar meter shows usage as a fraction of the active profile's context_window. When usage crosses the auto_compact_threshold (default 0.85), the runtime triggers an automatic compaction: the oldest tier of history collapses into a summary message. You will see ContextCompactionStarted, CompactionSummary, and ContextCompactionCompleted events in the trace and the meter drops back down.
To trigger compaction manually, use the command palette (Ctrl+P) and run "Compact context". See Memory & Context for the full pipeline.
Exit
Press Ctrl+C to interrupt the current turn (or to quit if no turn is active). The session is persisted to SQLite under ~/.kairox/ — next time you open the TUI, the session list will include it.
Part 2 — A first session in the GUI
The GUI shows the same runtime with a different interaction style: clickable surfaces, persistent panels, trajectory inspection, autonomous task controls, and rich settings.
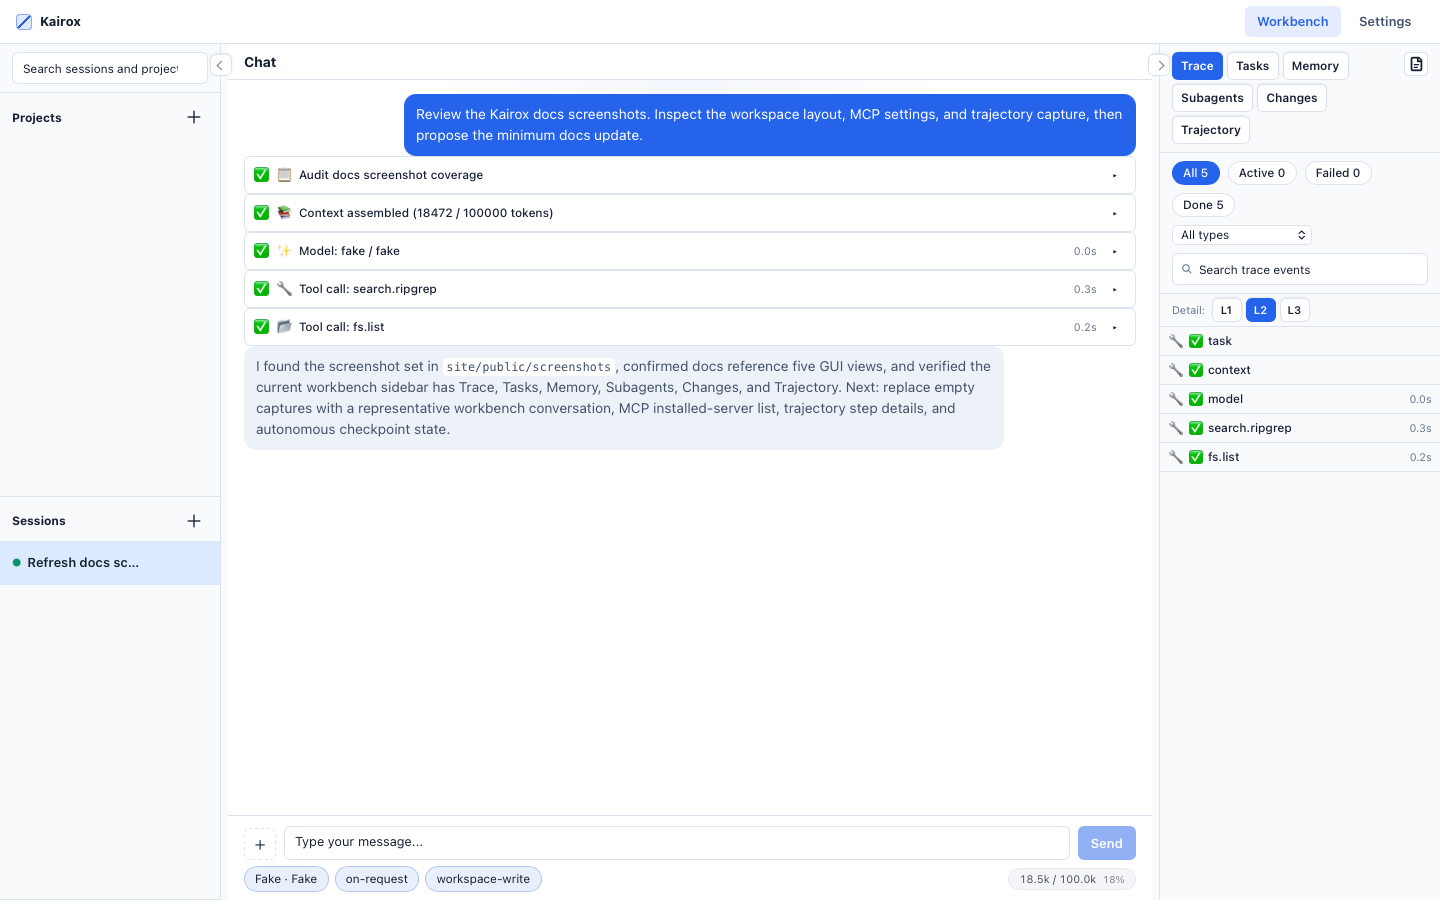
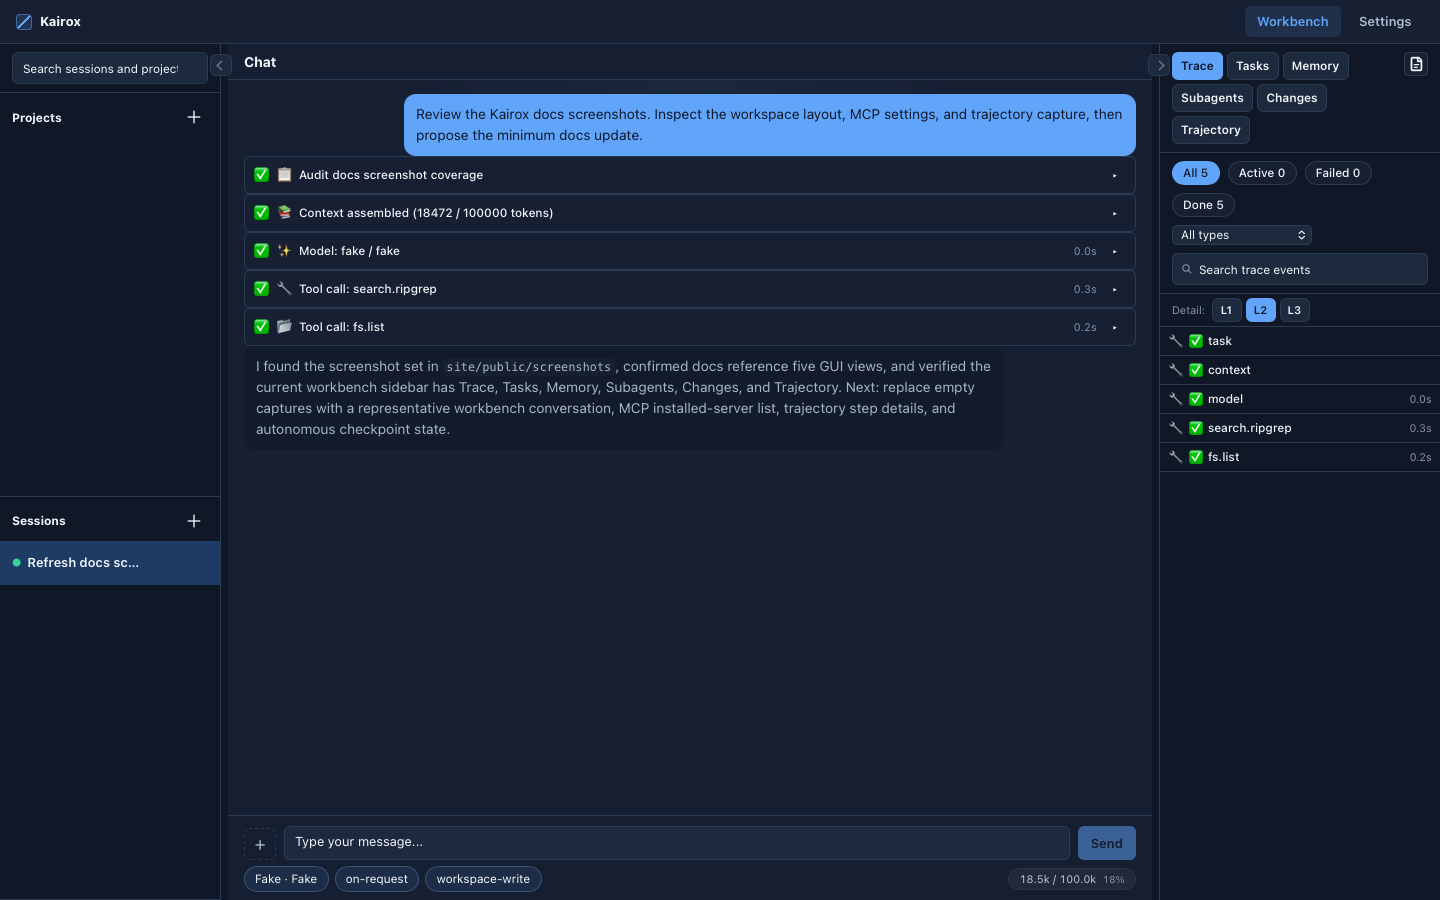
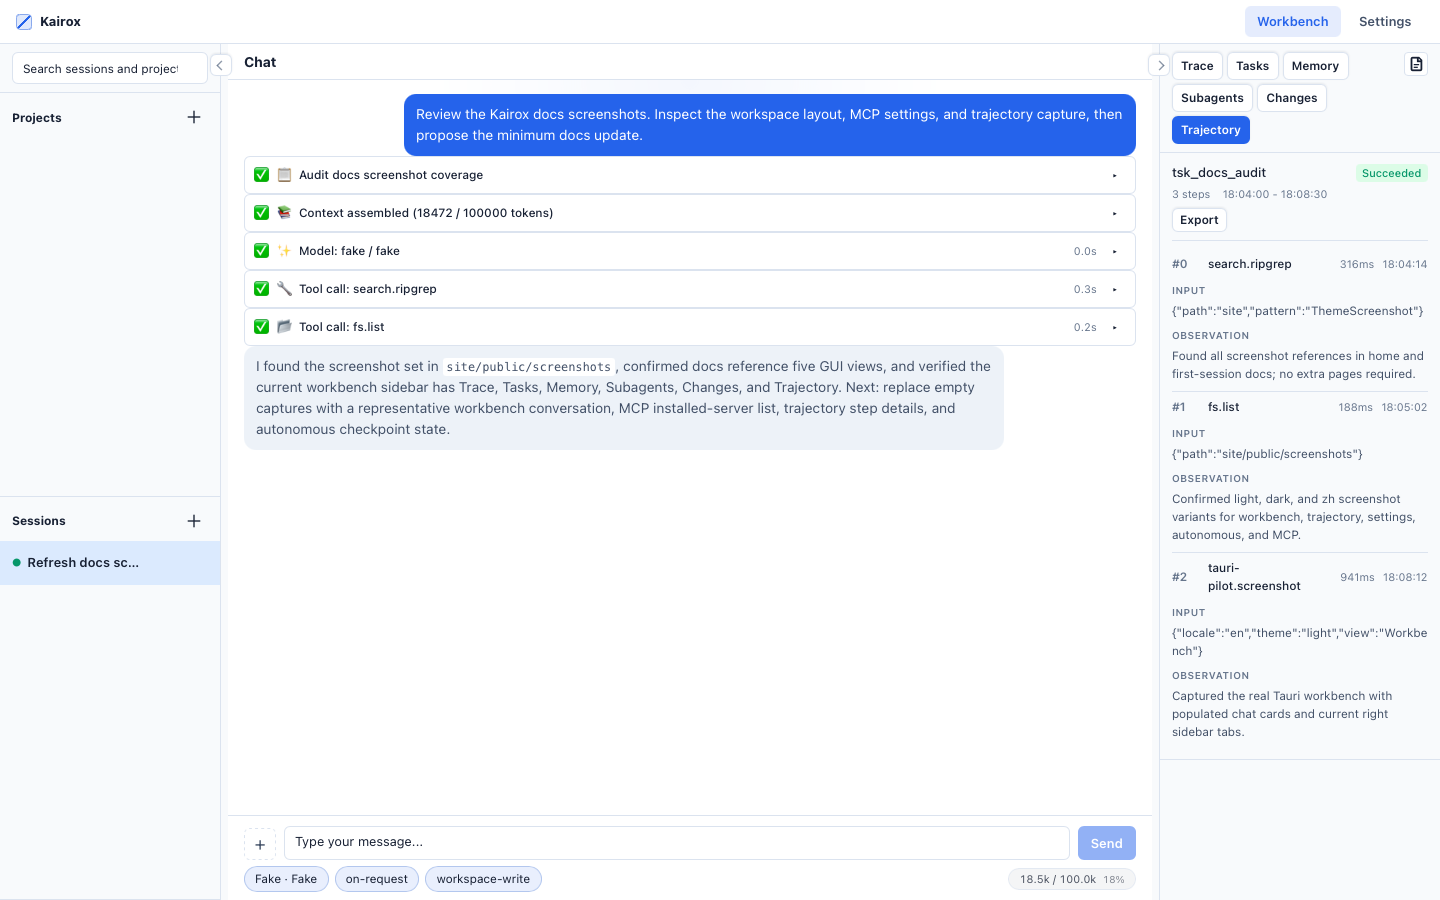
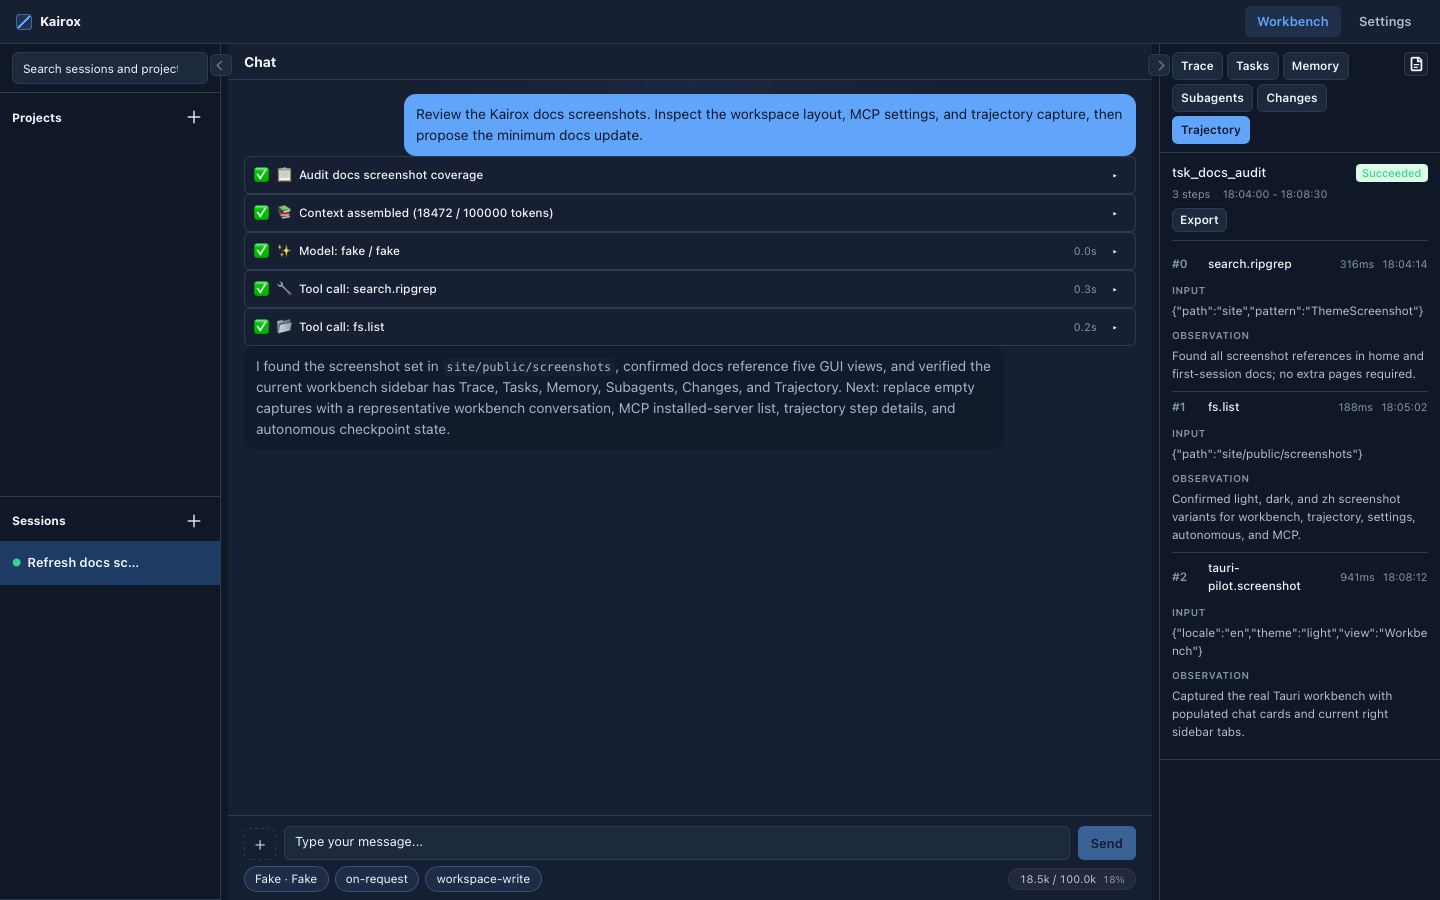
just tauri-devThe desktop window opens. The screenshot below shows the default workbench layout: sessions list on the left, chat in the center, trace + tasks on the right, plus model and context controls in the header.
Configure from settings
Click the settings icon (top right). Settings is organized by concern:
- General — theme, language, devtools, updater state, and application behavior.
- Models — profiles and the active default.
- Agents — multi-agent strategy configuration.
- Autonomous — checkpoint-driven autonomous task limits and controls.
- MCP — server lifecycle, marketplace.
- Skills — enabled skills per scope.
- Plugins — installed plugins and their contributions.
- Hooks — hook scripts and triggers.
- Instructions — user and project instructions.
- Archive — archived sessions and retention controls.
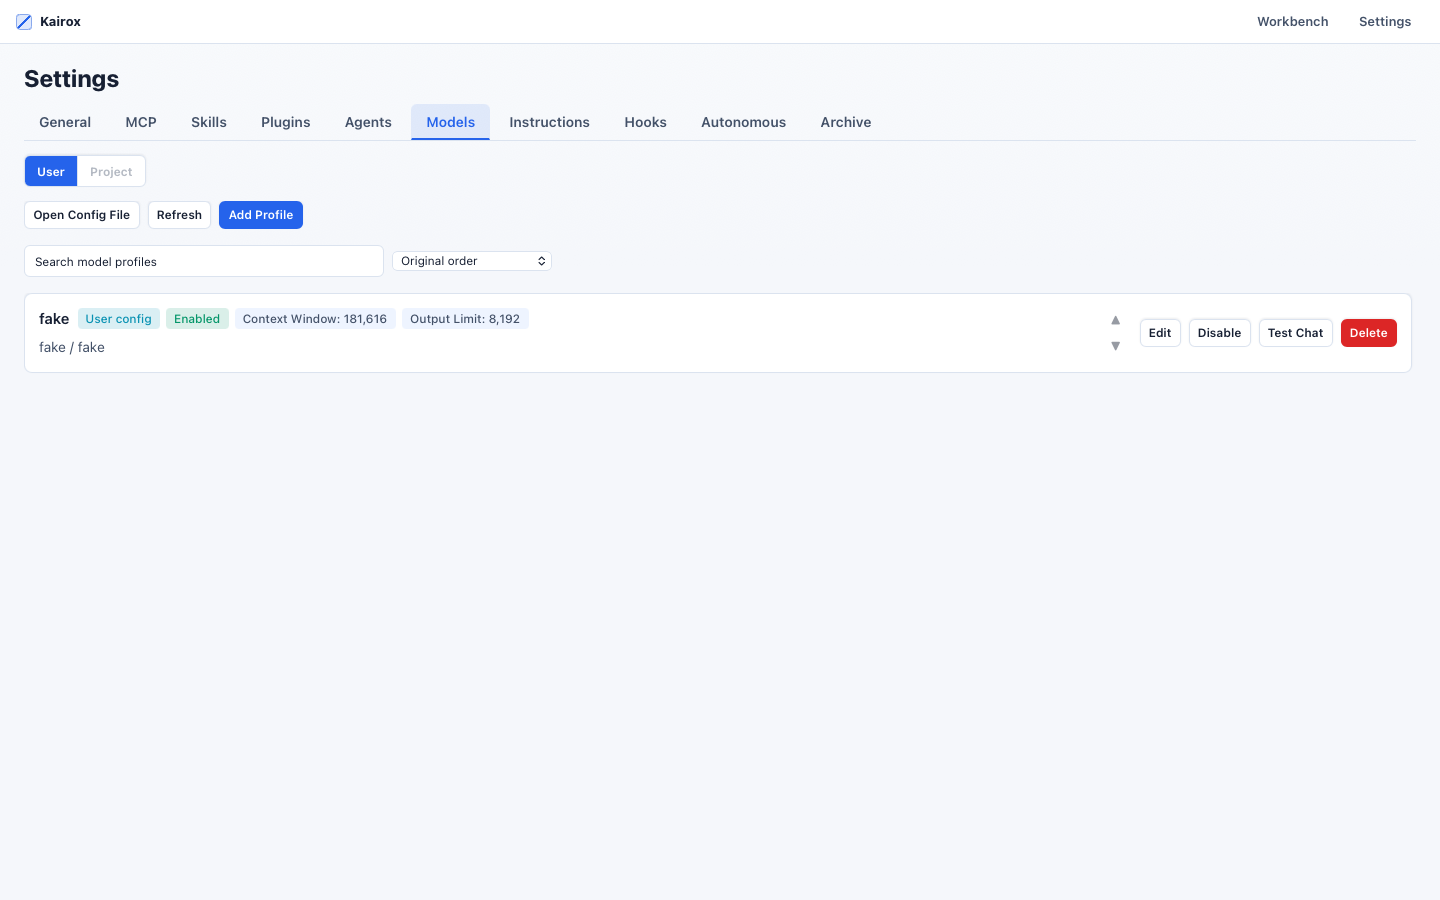
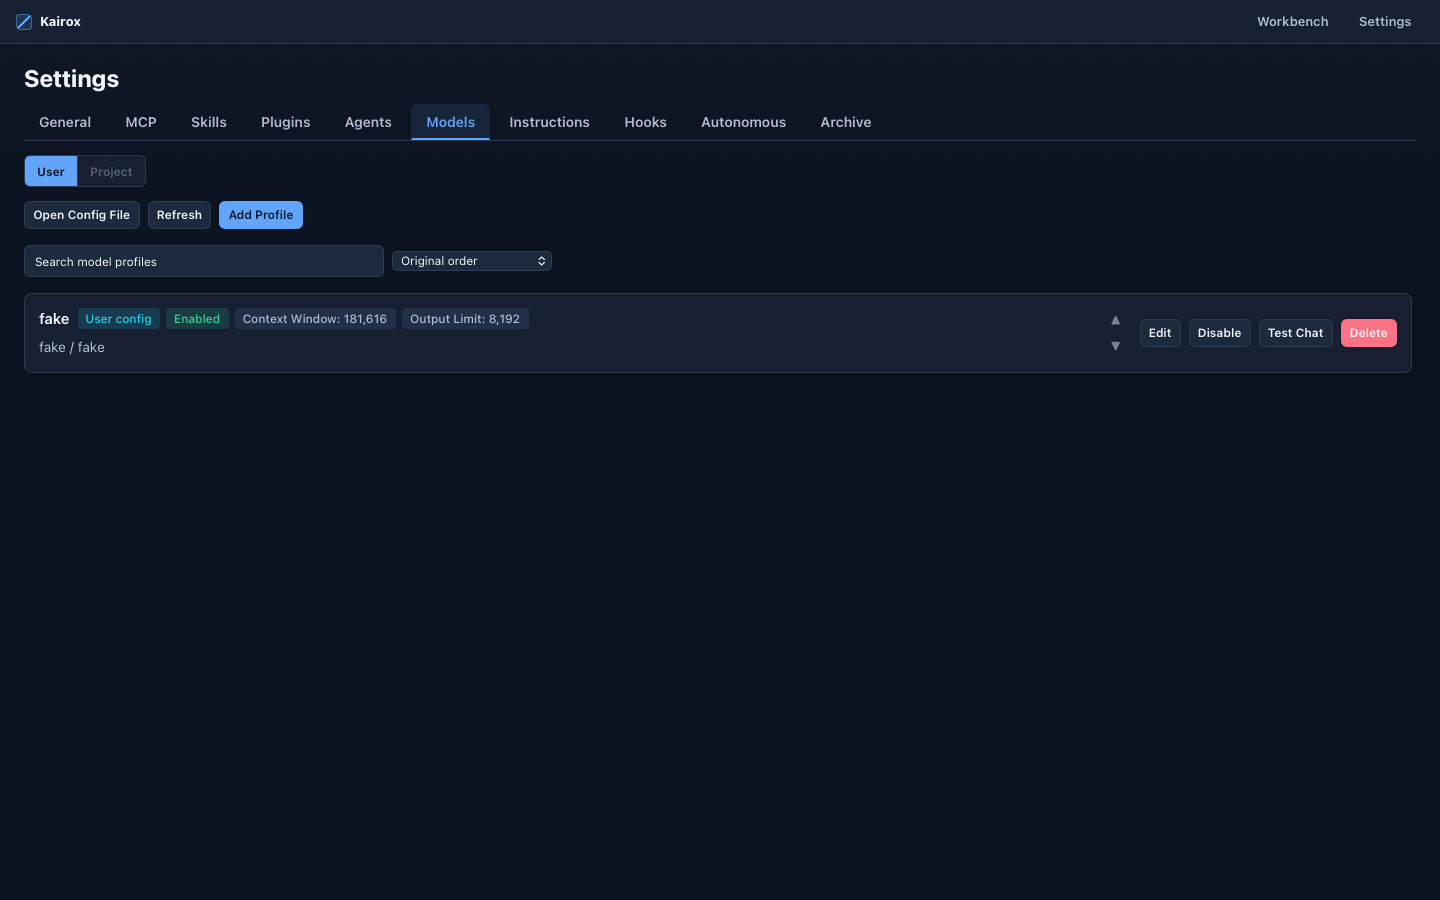
The same settings surface also exposes autonomous tasks when you let Kairox continue a goal across sessions. Checkpoints keep completed work, remaining items, and verification state inspectable.
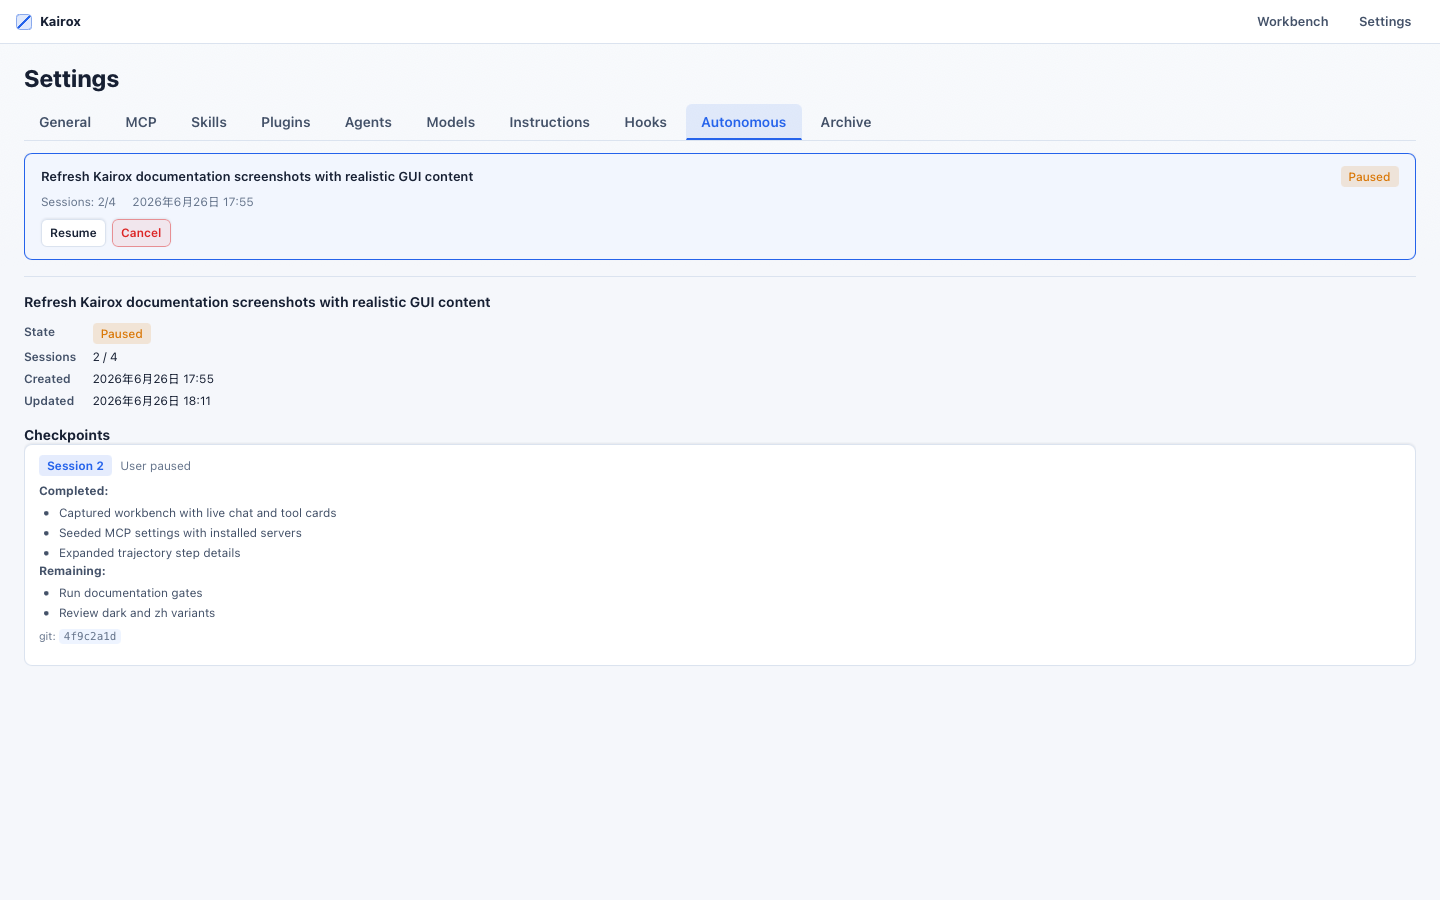
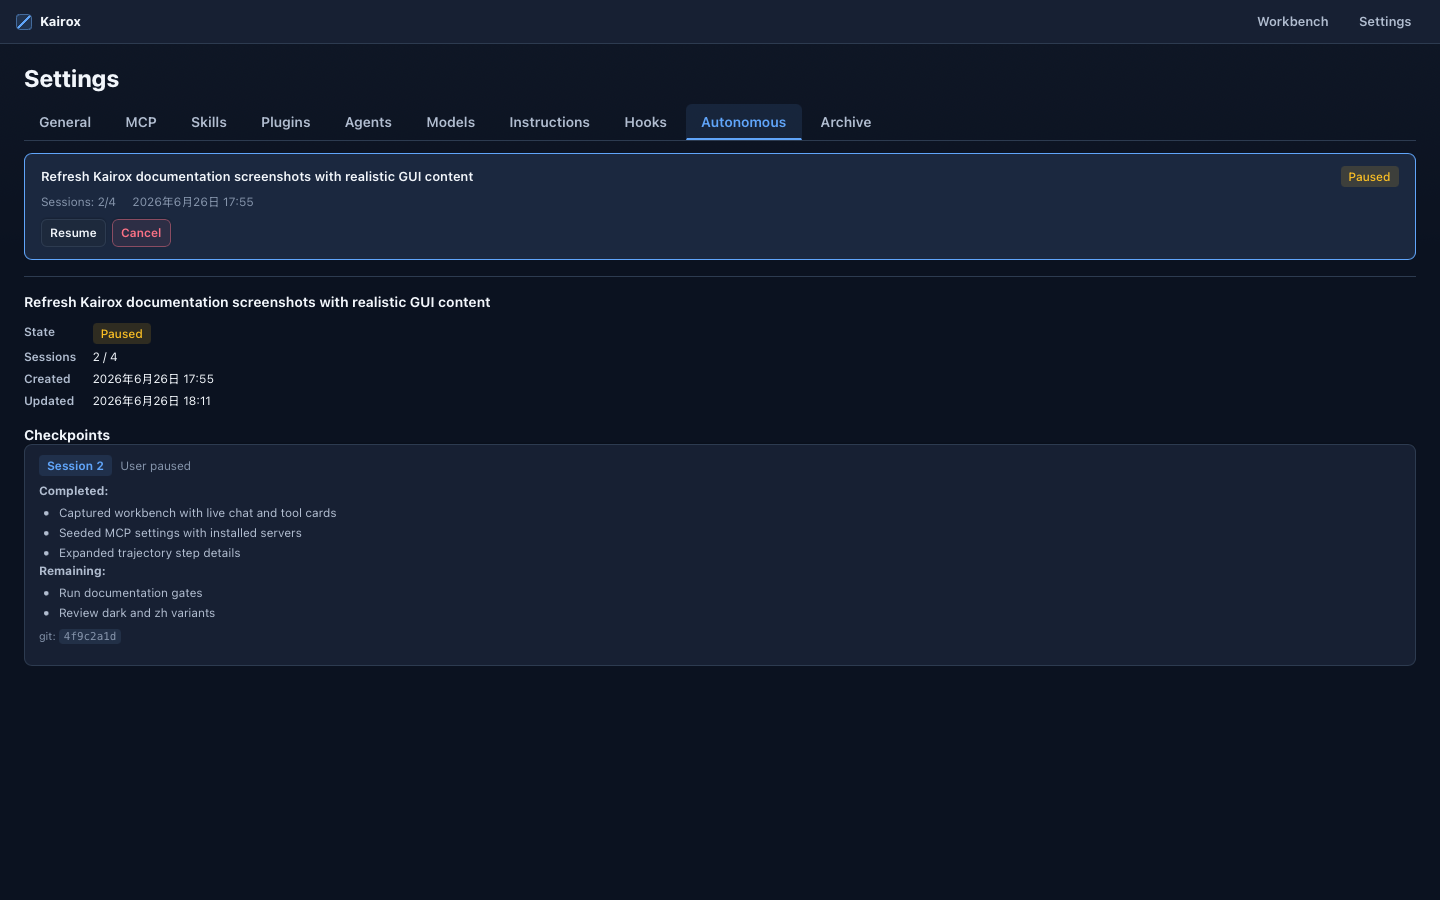
Click Models and confirm your profile is listed. Click the profile to make it the default for new sessions.
Start a session
Back on the workbench, click + New session. A session is created; events are appended to SQLite. Type a prompt and press Enter (use Shift+Enter for a newline) to send.
Inline permission flow
When the model requests a tool, the GUI renders the permission prompt inline in the chat stream — not as a modal. You see the tool name, the arguments, and the risk classification with Allow / Deny / Always allow buttons.
"Always allow" persists the decision as a workspace-scoped rule (e.g., "always allow fs.read in this workspace"). The runtime remembers it; future calls of the same shape do not prompt.
Observe the trace
The trace timeline on the right side updates in real time. Every event has a row; you can search the trace (/), filter by event type, and click a row to see its payload. The same PermissionGranted / ToolInvocationCompleted / ModelTokenDelta rows you saw in the TUI appear here, with richer presentation.
When the turn records actions, the trajectory viewer can inspect the ordered action/observation steps that were captured for replay, debugging, and eval. Tool screenshots and other image attachments stay structured so models that support vision can receive them without overflowing the text context.
Switch model mid-session
Use the profile dropdown in the session header to pick a different profile. The runtime queues the switch (so it cannot race an active turn), then routes subsequent requests to the new model. See Runtime & Sessions for the actor model.
Trigger compaction
Open the command palette (Ctrl/Cmd+P), search for "compact context", and run it. The trace records ContextCompactionStarted, CompactionSummary, and ContextCompactionCompleted; the context meter resets; the chat history is unchanged but the oldest messages have been replaced internally with a summary.
Persistent state
Close the window. Reopen with just tauri-dev. The session list, the chat history, the trace, and the task graph are all restored from the event store. Nothing in the GUI is held only in memory — all state is rebuilt from events.
Part 3 — Try MCP
The MCP settings page starts with installed servers for the selected scope. Use the Marketplace tab to browse curated MCP servers — git, GitHub, filesystem, fetch, and more — then install one when you need it.
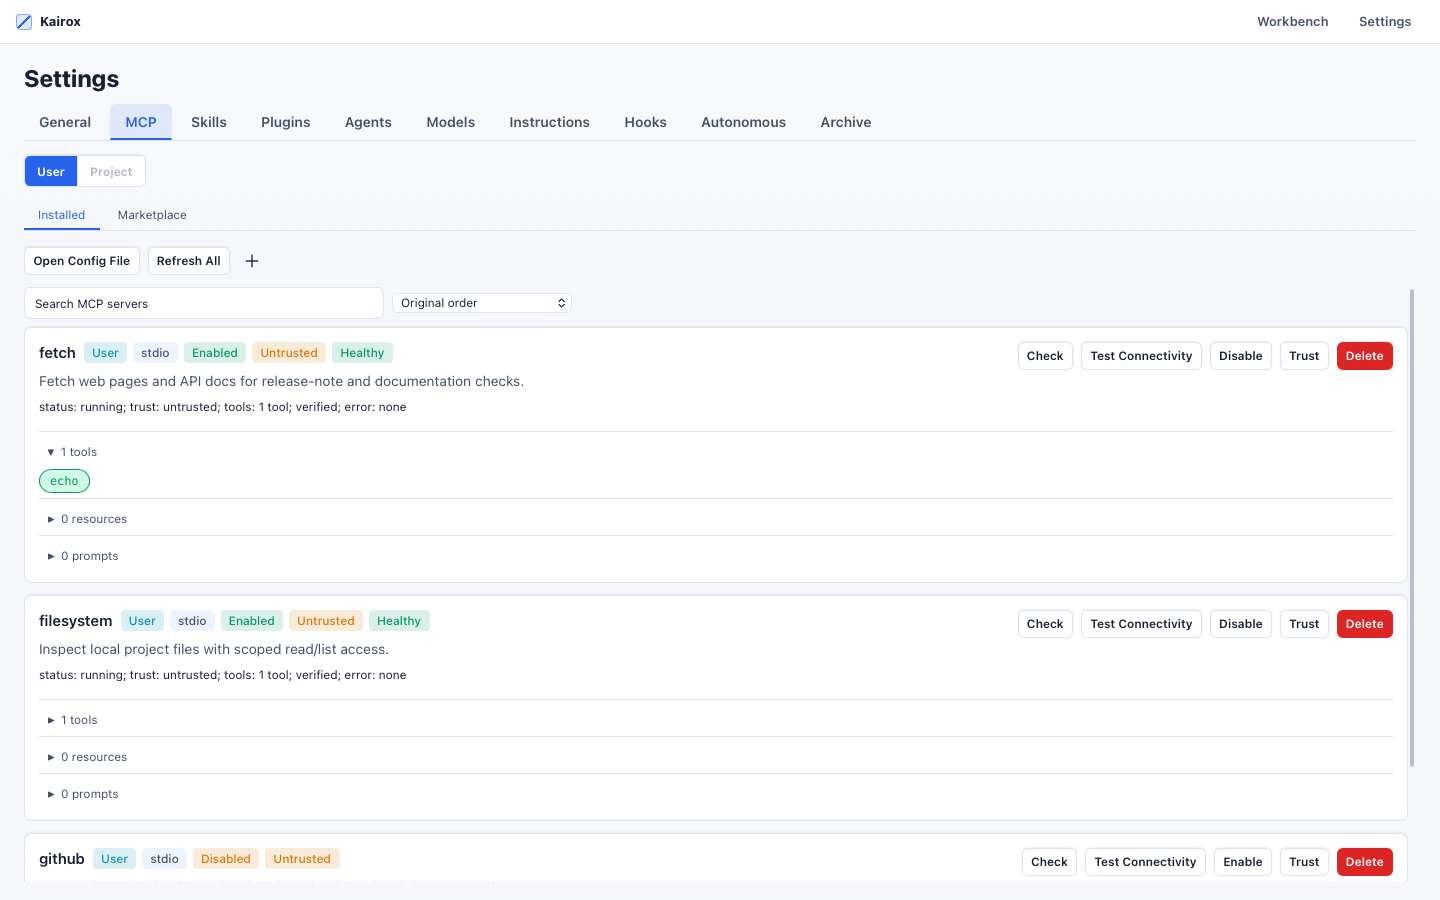
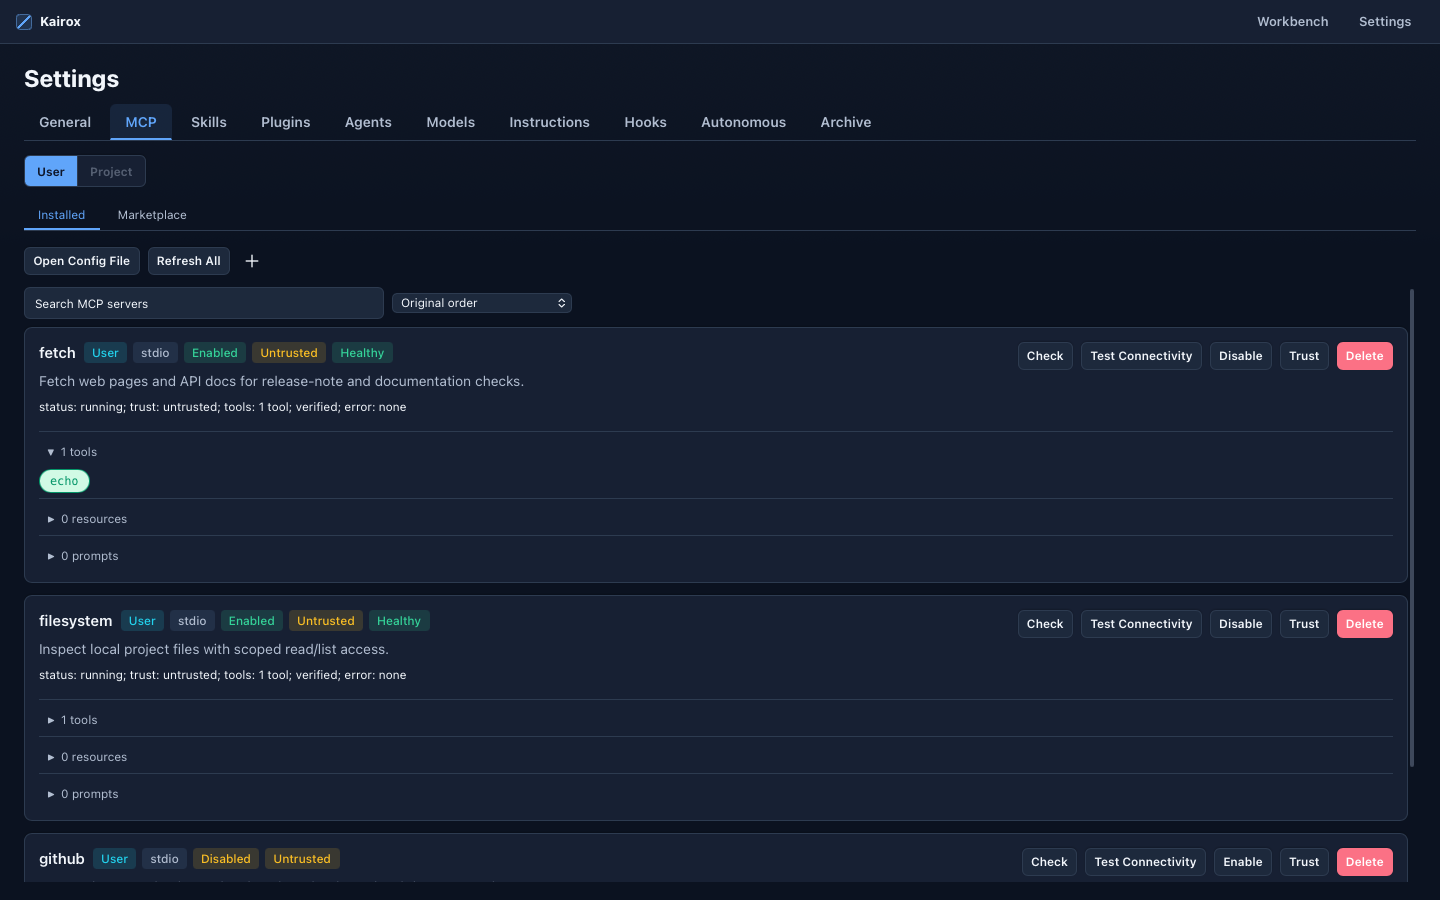
Once installed, the server's tools appear in the registry. The model can call them; they pass through the same policy engine as the built-ins. The trace marks tool calls with the originating server so you can audit what spoke to what.
For the full extensibility story — MCP, skills, plugins — see Extensibility: MCP / Skills / Plugins.
What you have learned
After this walkthrough you have hands-on intuition for:
- The agent loop and the event stream that drives every UI.
- The orthogonal
ApprovalPolicy×SandboxPolicymodel and the inline permission flow. - Profile switching mid-session without losing history.
- Automatic and manual context compaction.
- Persistent sessions across restarts.
- Trajectory capture and advisor-visible tool review events.
- The marketplace and the MCP lifecycle.
The deeper conceptual reads:
- Architecture — the layered design, the dependency rule, the facade trait.
- Runtime & Sessions — the actor model, the agent loop, DAG execution, multi-agent strategies.
- Memory & Context — the
<memory>protocol, context assembly, compaction internals. - Permissions & Tools — both policy axes, every built-in tool, the decision flow.
What this page does not cover
This page walks through one happy-path session in each UI. It does not cover every keystroke (CLI & Keyboard), every config field (Configuration), or what to do when something goes wrong (Troubleshooting & FAQ).